
Repairing cuts or tears in perforated leather or vinyl can be challenging. Each little perforation must be preserved or re-created in order to avoid a patched appearance.
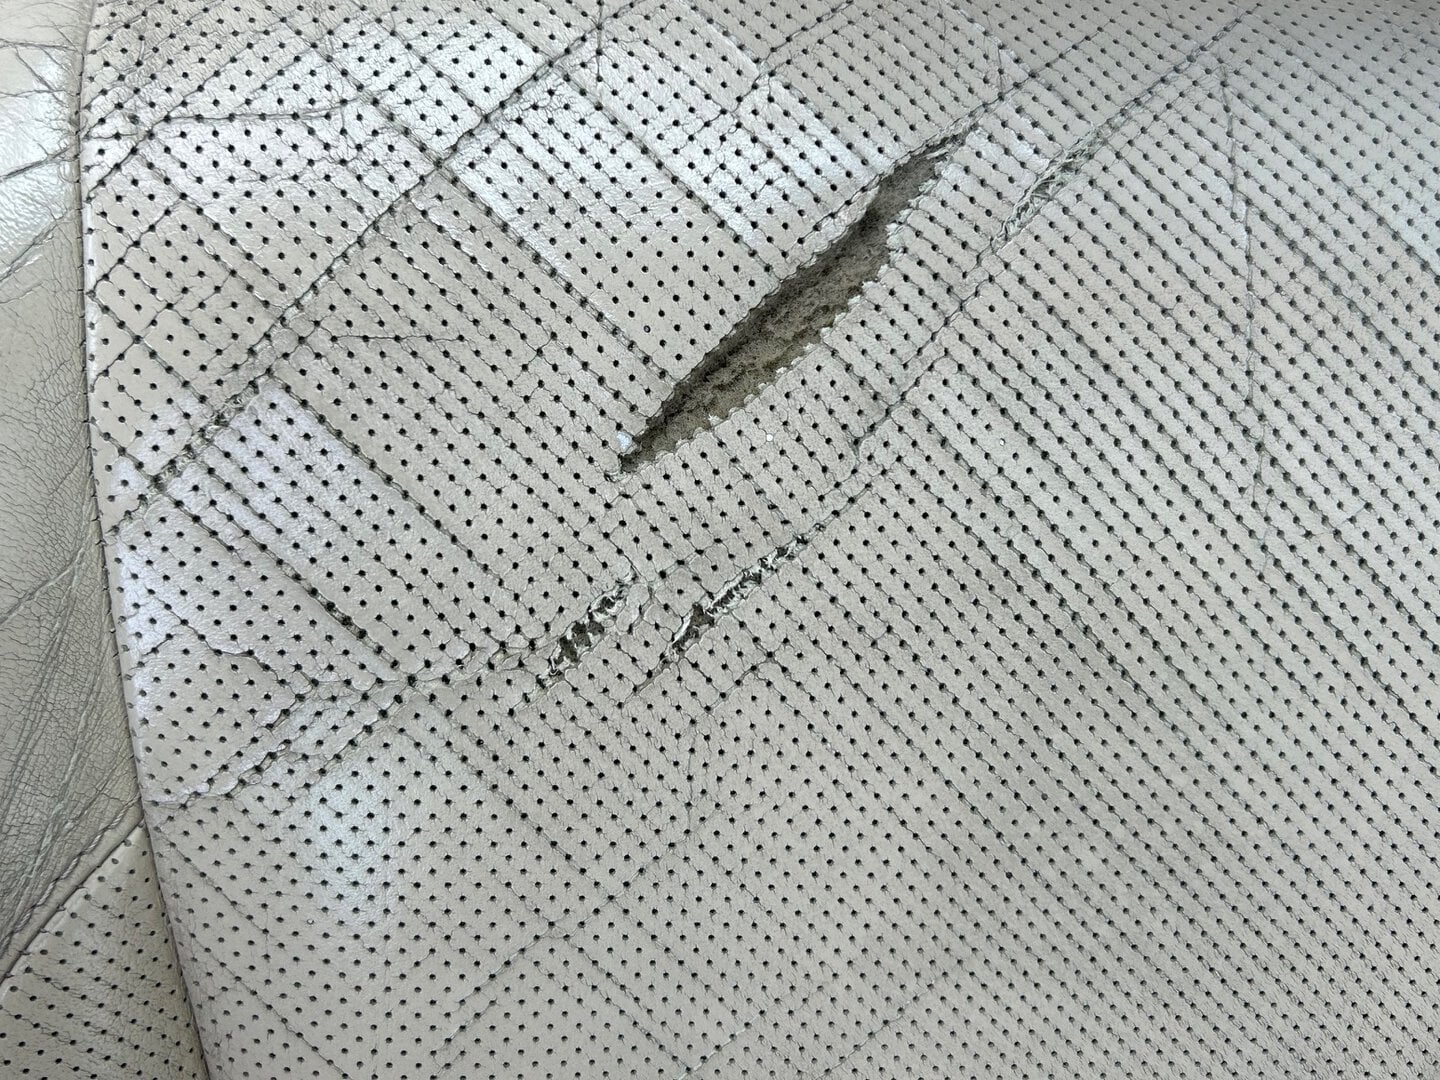
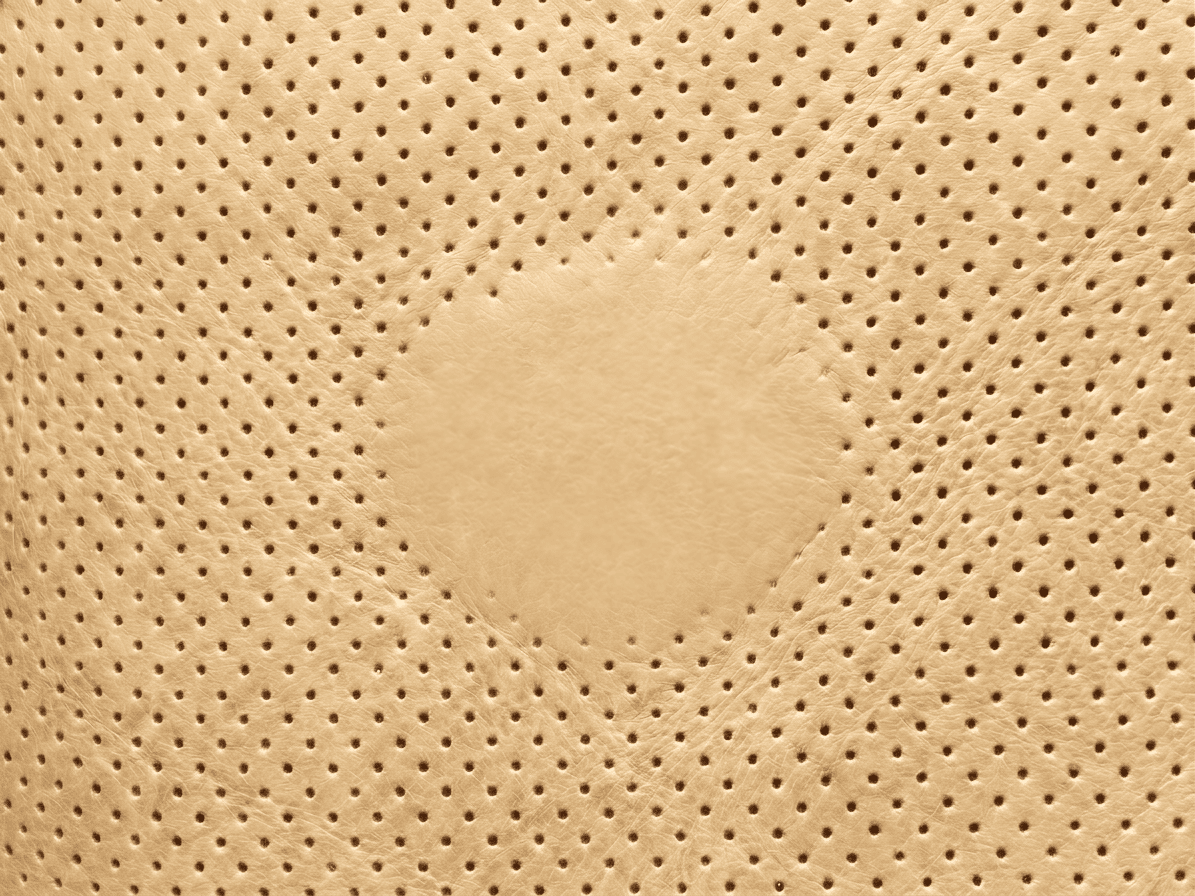
This video made by a fellow craftsperson sums up the process.
- Cut away any burned or frayed edges. Round edges are better than sharp corners.
- Apply a piece of clear packing tape over the hole and trace the shape of the hole.
- Apply the tape to a similar-grained leather or vinyl, and use it to cut a perfect top patch. Remove the tape.
- Ensure the patch fits nicely in the hole. Use a ballpoint pen to mark 12 o'clock on the patch and surrounding upholstery. Set aside.
- Subpatch the hole with a thin denim or twill fabric and a strong, flexible fabric glue.
- Use the same glue to adhere the top patch to the subpatch, and align the 12 o'clock mark.
- Remove the glue and ink with denatured or rubbing alcohol.
- Allow the glue to cure.
- Apply air-dry filler putty over the area. You may need to cover a larger area with filler in order to get the perforations to align later. Scrape away all excess to achieve a level surface, and let cure.
- Repeat as needed.
- Gently sand or use rubbing alcohol to smooth imperfections in the filler.
- Apply a final thin coat of filler, and emboss with a gloved hand to impart texture and mimic the grain of the leather, and allow to cure.
- Map out the new perforations. Use a fine ballpoint pen and ruler to draw lines connecting the perforations on either side of your repair area. Turn the rule 90º and do it again, so you have a grid of tiny squares.
- Heat an awl or our needle tool to 300-400°F (150-200°C), and punch holes at the intersection of each line.
- Quickly wipe the surface again with alcohol to remove or denature the ink. Otherwise it may bleed through the color.
- Apply a matching color to the surface, taking care to blend.
The perforated leather of my car seats still looks good, but a few small breaks between perforations are occurring, so there is no appreciable tear. It would be difficult to insert a sub-patch under the tear. Is there a way to mend the tear with an adhesive and no sub-patch?
Good question, Jim! Repairing these cracks now will keep them from erupting into larger tears and a more complex repair. Depending on the scope of the damage, you could work with tiny beads of super glue catalyzed with sanding. This is best suited to a small area that doesn’t require much flexibility. Alternatively you can apply a thin bead of filler to the cracks and let cure. Either way I’d use a large needle or toothpick or our groovy needle tool for these detailed repairs.
“1. Subpatch any holes or tears.” How? With what products?
Click the link about Soft Filler to see a video demo. The hole needs to be subpatched with a denim or twill patch and a fabric glue.
I am buying a used car that has a poorly repaired leather patch on it just like the one in the picture above. Is it possible to remove that patch and then re-patch it better on my own?
It’s a gamble. Removing repairs often do a little more damage. It would certainly be worth it on a solid, non-perforated leather. A solvent like lacquer thinner should remove the finish and help thin the repair. As long as the subpatch is good, you don’t have to do any cutting or make a mess of things. If the patch on the perforated leather is smooth and the color is good, I would just buy a special leather needle and punch the holes into the repair.