Leather Filler & Vinyl Repair Putty
$18 – $28
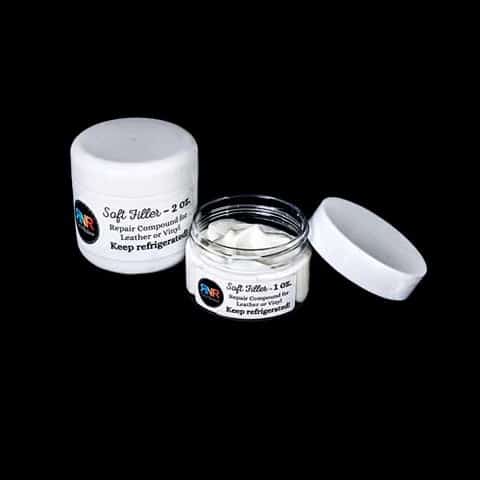
Repair cracks, tears, and holes in leather or vinyl with this flexible, water-based filler putty. Repairing peeling or flaking bonded or faux leather is discouraged.
Soft Filler is a water-based repair putty. Use a sunny window, heat lamp or incandescent bulb to cure until clear and no longer tacky. Do not use hair dryers or heat guns. Keep refrigerated when not in use.
Color will be needed to conceal the repairs. Do not used alcohol-based dyes or finishes over Soft Filler.
If you can feel the damage, such that a gentle sanding won’t correct it, then repair is recommended.
If you are repairing any vinyl or severe cat ‘scratching post’ damage, scaliness, or cracking on real leather like this:
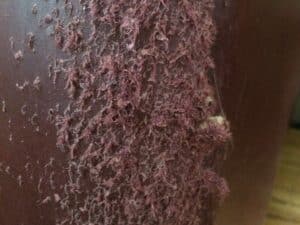
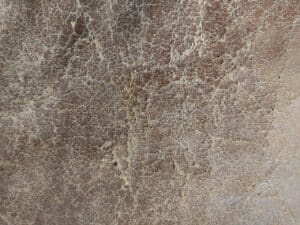
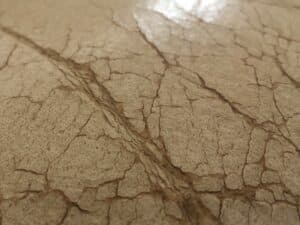
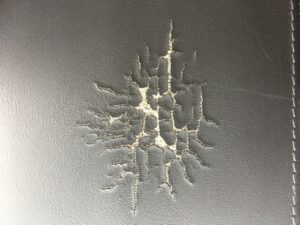
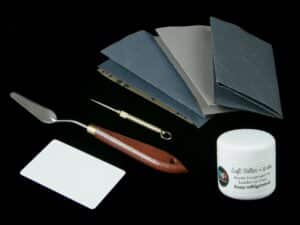
Buy our Vinyl Repair & Leather Filler Kit. Use a needle tool for thin cracks or small gouges. Buy a palette knife for larger areas.
If you have tears or holes through the material like this:
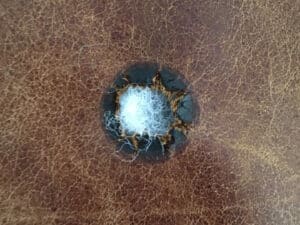
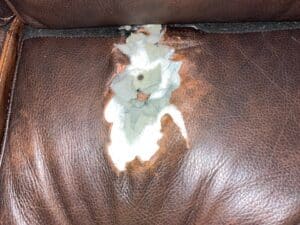
Buy a Leather Subpatch Kit plus the Vinyl Repair & Leather Filler Kit.
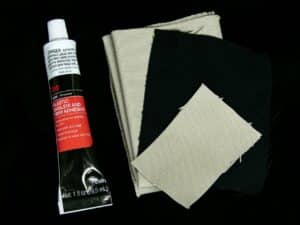
This article has more info and a video demonstration. For holes larger than 3" in diameter, consider glueing a top-patch of similar material to the subpatch before applying filler.
If you have isolated cat scratches or small scrapes or nicks on real leather like this:
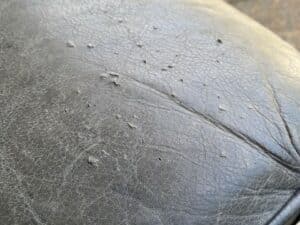
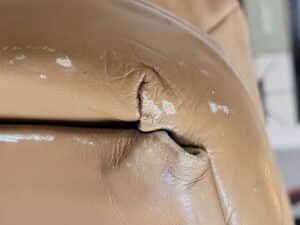
Buy our Leather Cat Scratch Repair Kit. Apply tiny beads of super glue and sand to create a filler. Learn how here.
If your leather is peeling or flaking like this:
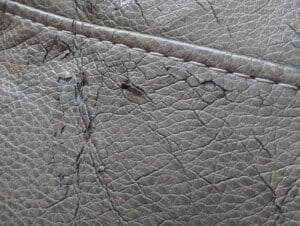
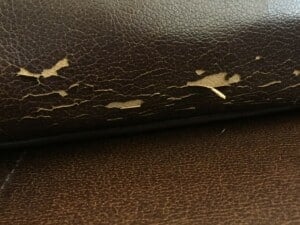
It ain't real leather! Here is how you'd repair it and why we don't recommend it.
If your leather looks like this:

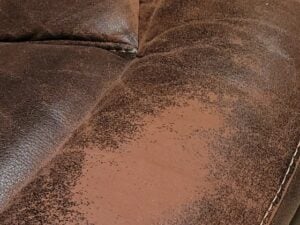
It is actually a fabric which can be painted using these instructions. No filler is needed.
Use filler for thin, scaly, cracked (but not torn) leather or vinyl:
1 oz. covers ~ 4 ft2
2 oz. covers ~ 8 ft2
For holes or tears through the material:
Buy a subpatch kit!
1 oz. covers ~ 1 in. x 1 ft. hole
2 oz. covers ~ 2 in. x 1 ft. hole
Orders received before 10 am MST on weekdays (excluding US holidays) are usually shipped same-day.
Most domestic orders are shipped via Priority Mail unless otherwise requested and typically arrive in 2-4 business days. Packages over 5 lbs. as well as all Canadian and international orders are shipped via UPS.
Carriers have suspended their service guarantees due to COVID. We are not responsible for delays and cannot refund shipping costs except for UPS Next Day Air.
You will receive an automated email with tracking number. Please secure your package in a timely fashion to avoid freezing during winter months.
Canadian and international Customers, use coupon code internationalCLUB (case and space sensitive) to discount the freight and duties on 8 or 16 oz. bottles of color. Rub 'n Restore, Inc. is not responsible for duties, tariffs or other expenses incurred.
Return & Exchange Policy
All products, except Custom Colors, may be returned within 60 days of purchase if unopened.
PLEASE NOTE, it may be cost prohibitive to return the following:
- a 2 oz. color,
- a 2 oz. or 4 oz. clear,
- a 1 oz. filler,
- or cleaner.
If you request a return label, the cost will be deducted from any return or exchange. Read our complete return policy here.

Love your store and your service!
You are simply amazing. Your videos are well thought out and very inspiring. Hated to see you take out a knife and cut clean leather. Then astounded when I saw how you repaired it. Yes, this can be done by mere mortals.
One needs to watch the videos. Take notes. See what works. Take more notes. Watch more videos by Lesandre. For this, I got a sense of what to do as I went along. It's DIY!!! Yet. Lesandre is there NICELY to comment on emails. Couchman / Client for Life!! - you are so nice to give pointers. Couldn't have done this without you!!
A perfect custom color match and an easy two step process thanks to your step by step video. My husband and I are thrilled. I am so happy I found your company on the internet. Much success to a great mother/daughter team.
I applied several very thin layers to the mesh substrate where the vinyl had cracked and flaked off and made sure there was good adhesion with the remaining vinyl fragments. I only removed a few small pieces that were peeling away. I allowed each layer to dry and very lightly scuffed the final coat with 600 to ensure it was smooth. While I was tempted to try and texture the finish I was satisfied with the way it turned out and made a custom color dye to reasonably match the surrounding seat material.
I’ve attached before and after photos. The lighting wasn’t great but I’m very pleased with the way it turned out and hope that the repair holds up to the wear it’s going to see.
Thanks again for your advice and videos. I give the product two thumbs up.
I used your products to restore my couch and loveseat, and they turned out beautifully!! At first I only ordered products to repair a ragged tear on the seat expecting that to go poorly. Instead, it patched up nicely so I ordered primer and dye in Ivory. I'm so amazed at how beautifully this turned out and so are my friends and family. Thank you.